Cattle Drawing: Unleash Your Inner Artist With These Pro Tips
Have you ever looked at a stunning cattle drawing and thought, wow, how do artists do that? Well, today’s your lucky day because we’re diving deep into the world of cattle drawing. Whether you’re a beginner or a seasoned artist, this guide will help you create masterpieces that’ll make your walls pop. So grab your pencils, pens, or digital tablets, and let’s get started!
Drawing cattle might seem intimidating at first, but trust me, it’s all about understanding their anatomy, textures, and personality. Cattle drawing is not just about replicating what you see; it’s about bringing life to your art. And hey, who doesn’t want to add a touch of rustic charm to their art collection?
In this guide, we’ll cover everything from basic techniques to advanced tips. We’ll also explore different styles, tools, and even share some cool tricks to make your artwork stand out. So, buckle up, because we’re about to embark on an artistic journey like no other!
Read also:Cazzu Embazada The Untold Story Of A Rising Star And Her Journey
Why Cattle Drawing Is a Must-Try
Alright, let’s talk about why cattle drawing deserves a spot in your creative repertoire. First off, cows are fascinating creatures with unique features that make them perfect subjects for art. From their expressive eyes to their majestic horns, every detail adds character to your work.
Plus, cattle drawing is a great way to improve your skills. It challenges you to master proportions, shading, and texture, which are essential for any aspiring artist. And let’s not forget the satisfaction of creating something truly beautiful and meaningful.
Getting Started: Tools You’ll Need
Before we dive into the nitty-gritty of cattle drawing, let’s talk about the tools you’ll need. Don’t worry; you don’t have to break the bank to get started. Here’s a quick rundown:
- Pencils: A range of graphite pencils (2H to 6B) will give you the versatility you need.
- Eraser: A good quality eraser is crucial for correcting mistakes and adding highlights.
- Sketchbook: Choose one with thick, textured paper to handle different mediums.
- Blending Tools: Stumps or tortillons for smoothing out your shading.
- Reference Photos: These will help you understand cattle anatomy and poses.
For digital artists, a tablet like the iPad Pro or Wacom Intuos is a solid investment. But remember, it’s all about finding what works best for you.
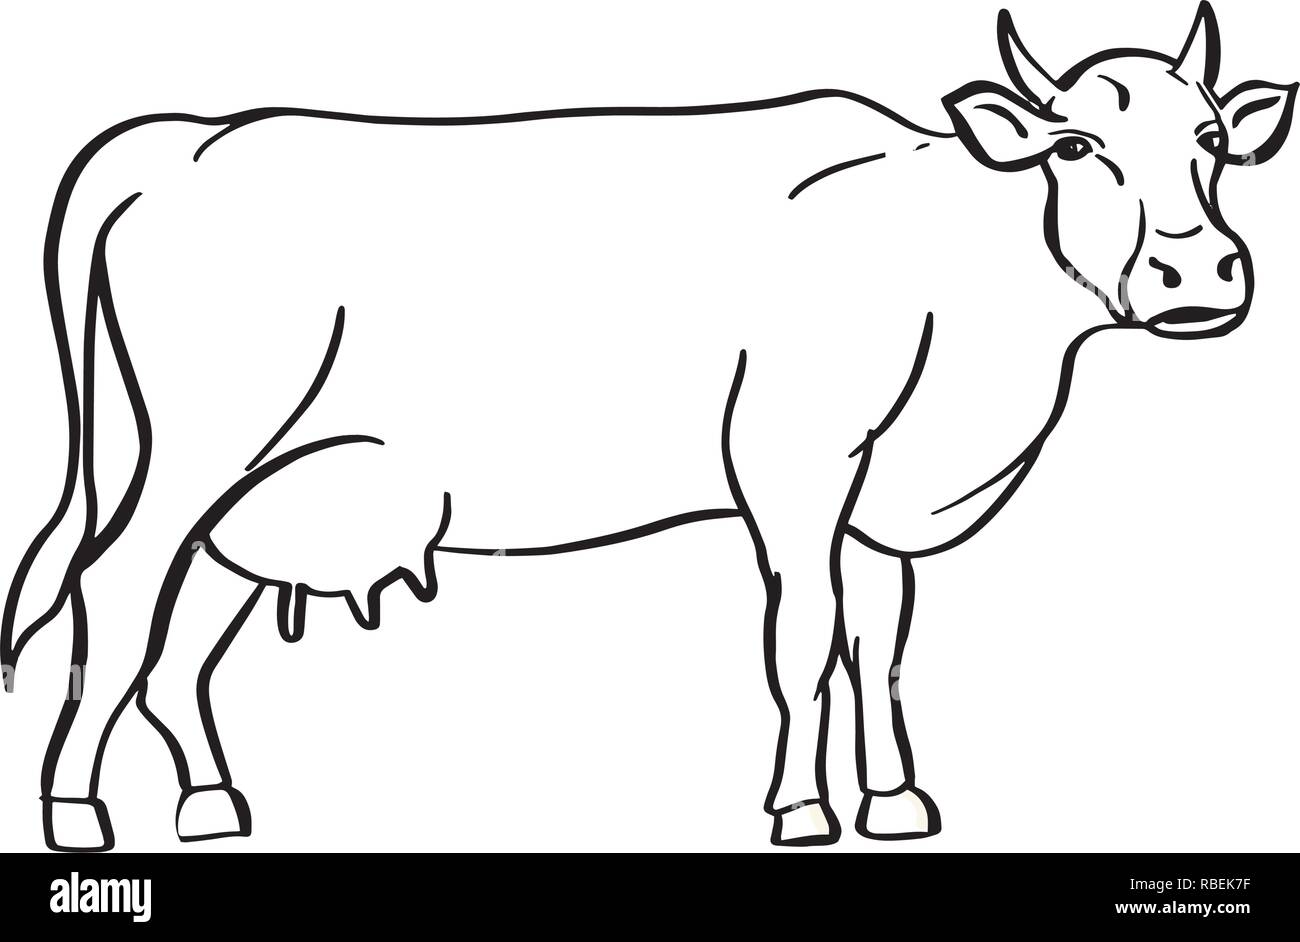
Understanding Cattle Anatomy
One of the keys to great cattle drawing is understanding their anatomy. Cows have distinct body structures that differ from other animals, so it’s important to get familiar with them.
Read also:Pasta E Pasta Allegro The Ultimate Italian Dining Experience
Key Features to Focus On
Here are some key features to keep in mind when drawing cattle:
- Head Shape: Cows have elongated heads with wide muzzles.
- Eyes: Their eyes are large and expressive, often giving them a gentle look.
- Ears: Cows have large, floppy ears that add character to your drawing.
- Horns: Not all cattle have horns, but if they do, they can be curved, straight, or spiraled.
- Body Structure: Cows have strong, sturdy bodies with defined muscles and bones.
By paying attention to these details, you’ll create more realistic and lifelike drawings.
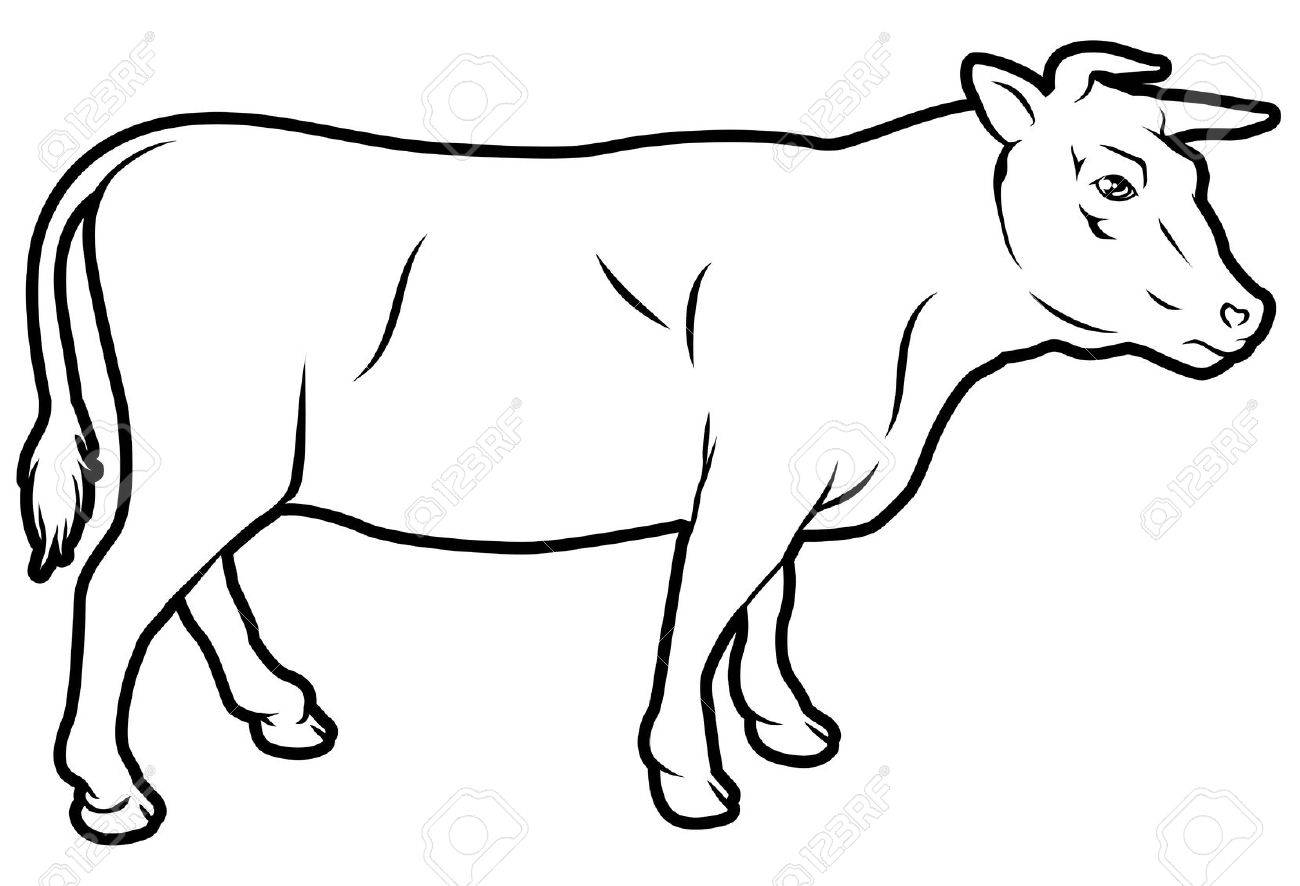
Basic Techniques for Cattle Drawing
Now that you have your tools and understand cattle anatomy, let’s move on to some basic techniques. These will form the foundation of your artwork and help you build confidence.
Step-by-Step Guide
Here’s a simple step-by-step guide to get you started:
- Sketch the Basic Shape: Start with a rough outline of the cow’s body. Think of it as a framework for your drawing.
- Add Details: Once you have the basic shape, start adding details like the head, legs, and tail.
- Define Proportions: Make sure everything is in proportion. This will give your drawing a balanced look.
- Refine the Outline: Clean up your initial sketch and refine the outline for a polished appearance.
- Shade and Texture: Add shading and texture to bring depth and dimension to your artwork.
Remember, practice makes perfect. The more you draw, the better you’ll get.
Advanced Tips for Mastering Cattle Drawing
Once you’ve mastered the basics, it’s time to take your cattle drawing to the next level. Here are some advanced tips to help you create stunning works of art:
1. Study Real Cattle
Nothing beats observing real cattle in action. Visit a farm or watch videos to see how they move and interact. This will give you a deeper understanding of their behavior and anatomy.
2. Experiment with Different Styles
Don’t be afraid to try new things. Whether it’s realism, impressionism, or abstract art, each style offers unique challenges and opportunities. Who knows, you might discover a new favorite!
3. Focus on Textures
Cattle have fascinating textures, from their coarse fur to their smooth horns. Paying attention to these details will add realism and depth to your artwork.
Cattle Drawing Styles to Explore
Art is all about expression, and there are countless styles you can explore when it comes to cattle drawing. Here are a few popular ones:
Realism
If you want to create lifelike drawings, realism is the way to go. This style requires a keen eye for detail and a lot of patience, but the results are absolutely breathtaking.
Cartoonish
For a more playful approach, try cartoonish cattle drawing. This style emphasizes exaggerated features and fun expressions, making it perfect for kids’ art.
Abstract
Abstract art is all about breaking the rules. Use bold colors and unconventional shapes to create unique and eye-catching pieces.
Common Mistakes to Avoid
Even the best artists make mistakes, but learning from them is what sets you apart. Here are some common pitfalls to watch out for:
- Ignoring Proportions: Make sure everything is in proportion to avoid a distorted look.
- Overworking Details: Sometimes less is more. Don’t overload your drawing with unnecessary details.
- Forgetting Texture: Texture adds depth and realism, so don’t neglect it.
By being mindful of these mistakes, you’ll improve your skills and create better artwork.
Resources for Aspiring Artists
There’s a wealth of resources available to help you hone your cattle drawing skills. Here are a few to check out:
Online Tutorials
Websites like YouTube and Skillshare offer a variety of tutorials for artists of all levels. You can find step-by-step guides, tips, and tricks from professional artists.
Books
Books on animal anatomy and drawing techniques are invaluable resources. Some popular ones include “Drawing Animals” by Jack Hamm and “The Art of Animal Drawing” by Ken Hulsey.
Communities
Joining online communities like DeviantArt or Reddit can connect you with fellow artists who can offer feedback and support.
How to Display Your Cattle Drawings
Once you’ve created your masterpiece, it’s time to show it off. Here are some ideas for displaying your cattle drawings:
- Frames: A classic frame can elevate your artwork and make it stand out.
- Prints: Turn your drawings into prints to share with friends and family.
- Wall Murals: For a bold statement, turn your artwork into a wall mural.
Whatever you choose, make sure it complements your space and showcases your talent.
Conclusion: Keep Drawing and Keep Growing
Well, there you have it, folks! Cattle drawing is a rewarding and fulfilling hobby that offers endless possibilities. By mastering the basics, exploring different styles, and learning from your mistakes, you’ll create artwork that’s truly unique and meaningful.
So, what are you waiting for? Grab your tools and start drawing! And don’t forget to share your creations with the world. Who knows, you might inspire others to pick up a pencil and join you on this artistic journey.
Table of Contents
- Why Cattle Drawing Is a Must-Try
- Getting Started: Tools You’ll Need
- Understanding Cattle Anatomy
- Basic Techniques for Cattle Drawing
- Advanced Tips for Mastering Cattle Drawing
- Cattle Drawing Styles to Explore
- Common Mistakes to Avoid
- Resources for Aspiring Artists
- How to Display Your Cattle Drawings
- Conclusion: Keep Drawing and Keep Growing
