Bike Drawing: Your Ultimate Guide To Mastering The Art Of Cycling Illustrations
Have you ever wondered how to create stunning bike drawings that stand out? Whether you're a beginner or an experienced artist, this guide has got your back. Bike drawing isn't just about sketching wheels and frames; it's about capturing the essence of motion, balance, and creativity. Let's dive right into it and explore the fascinating world of cycling art.
Art is one of those things that speaks to the soul, and bike drawing is no exception. Imagine sitting down with a pencil in hand, ready to bring a two-wheeled masterpiece to life. This guide will walk you through everything you need to know, from the basics to advanced techniques. You'll be amazed at how far you can go with just a little practice and some insider tips.
Before we get started, let's talk about why bike drawing matters. It's not just about creating something pretty; it's about expressing yourself and sharing your passion for cycling with the world. Whether you're a cycling enthusiast or simply love art, this journey is going to be fun, inspiring, and rewarding. So grab your sketchbook and let's go!
Read also:Capfields Nigeria Limited Your Ultimate Guide To Innovation And Growth
Why Bike Drawing is Worth Your Time
Let’s face it, bikes are awesome. They’re not just a mode of transportation; they’re symbols of freedom, adventure, and sustainability. When you start bike drawing, you're tapping into a world where creativity meets functionality. But why should you invest time in this skill?
First off, bike drawing helps improve your artistic abilities. It challenges you to think about proportions, angles, and details that you might not consider in other types of drawings. Plus, it’s a great way to express your love for cycling in a unique and personal way. You can even turn your sketches into cool posters, t-shirts, or even tattoos. The possibilities are endless!
And let’s not forget the mental benefits. Drawing bikes can be meditative and relaxing. It’s like taking a mini-vacation for your mind. So whether you’re a pro or just starting out, bike drawing is definitely worth exploring.
Basic Tools You’ll Need for Bike Drawing
Alright, let’s talk tools. You don’t need a fancy setup to start drawing bikes. In fact, you can get started with just a few essentials. Here’s what you’ll need:
- Pencils: Go for a range of graphite pencils (2B, 4B, 6B) to create different shades and textures.
- Eraser: A good eraser is crucial for making corrections and adding highlights.
- Sketchbook: Pick one with thick paper to handle multiple layers of shading.
- Pens: If you want to add ink details, fine-liner pens are perfect for outlining and adding definition.
- Reference Photos: Don’t hesitate to use pictures of bikes to study their shapes and structures.
Of course, as you grow more confident, you can experiment with colored pencils, markers, or even digital tools. But for now, these basics will set you up for success.
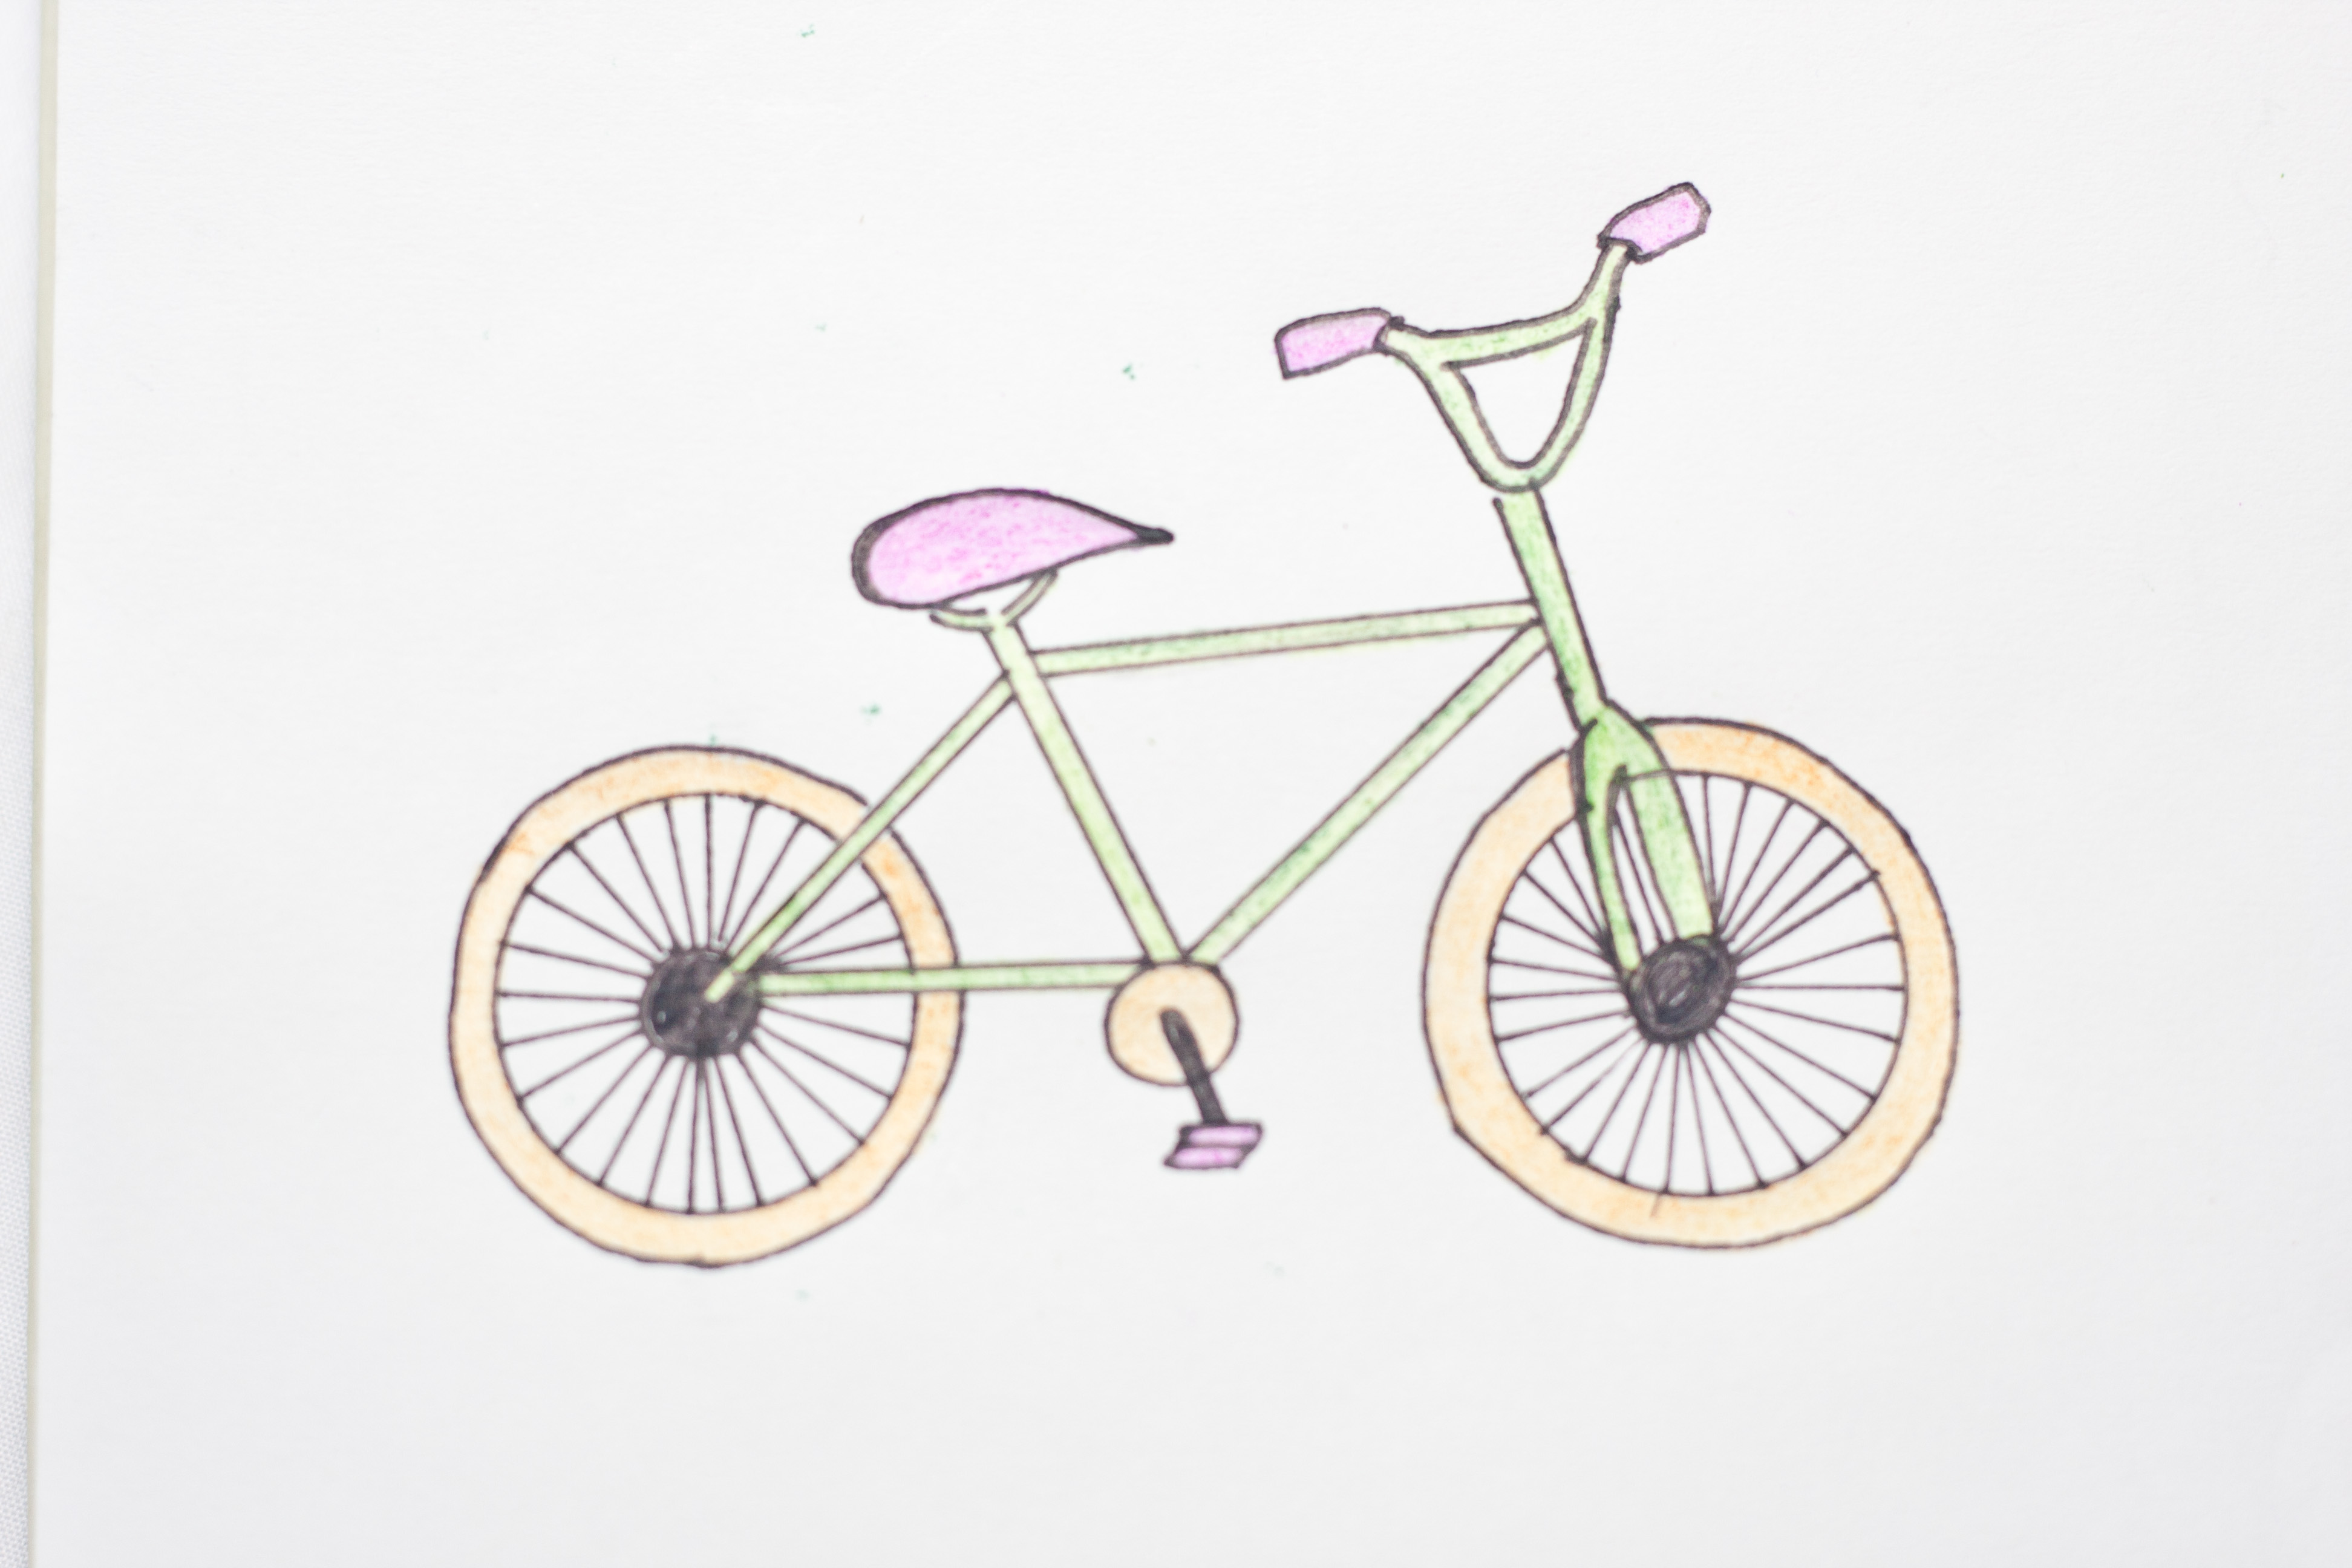
Understanding Bike Anatomy
Before you put pencil to paper, it’s important to understand the basic structure of a bike. Think of it like learning the anatomy of a human figure. Here are the key components you should focus on:
Read also:Kai Morae The Rising Star Of Kpop Taking The World By Storm
- Frame: The main structure that holds everything together.
- Wheels: The round parts that make the bike roll. Pay attention to the spokes and rims.
- Handlebars: These control the direction of the bike.
- Pedals: The parts you push to make the bike move.
- Seat: Where you sit while riding.
By breaking down the bike into these elements, you’ll find it easier to draw each part accurately. And remember, practice makes perfect!
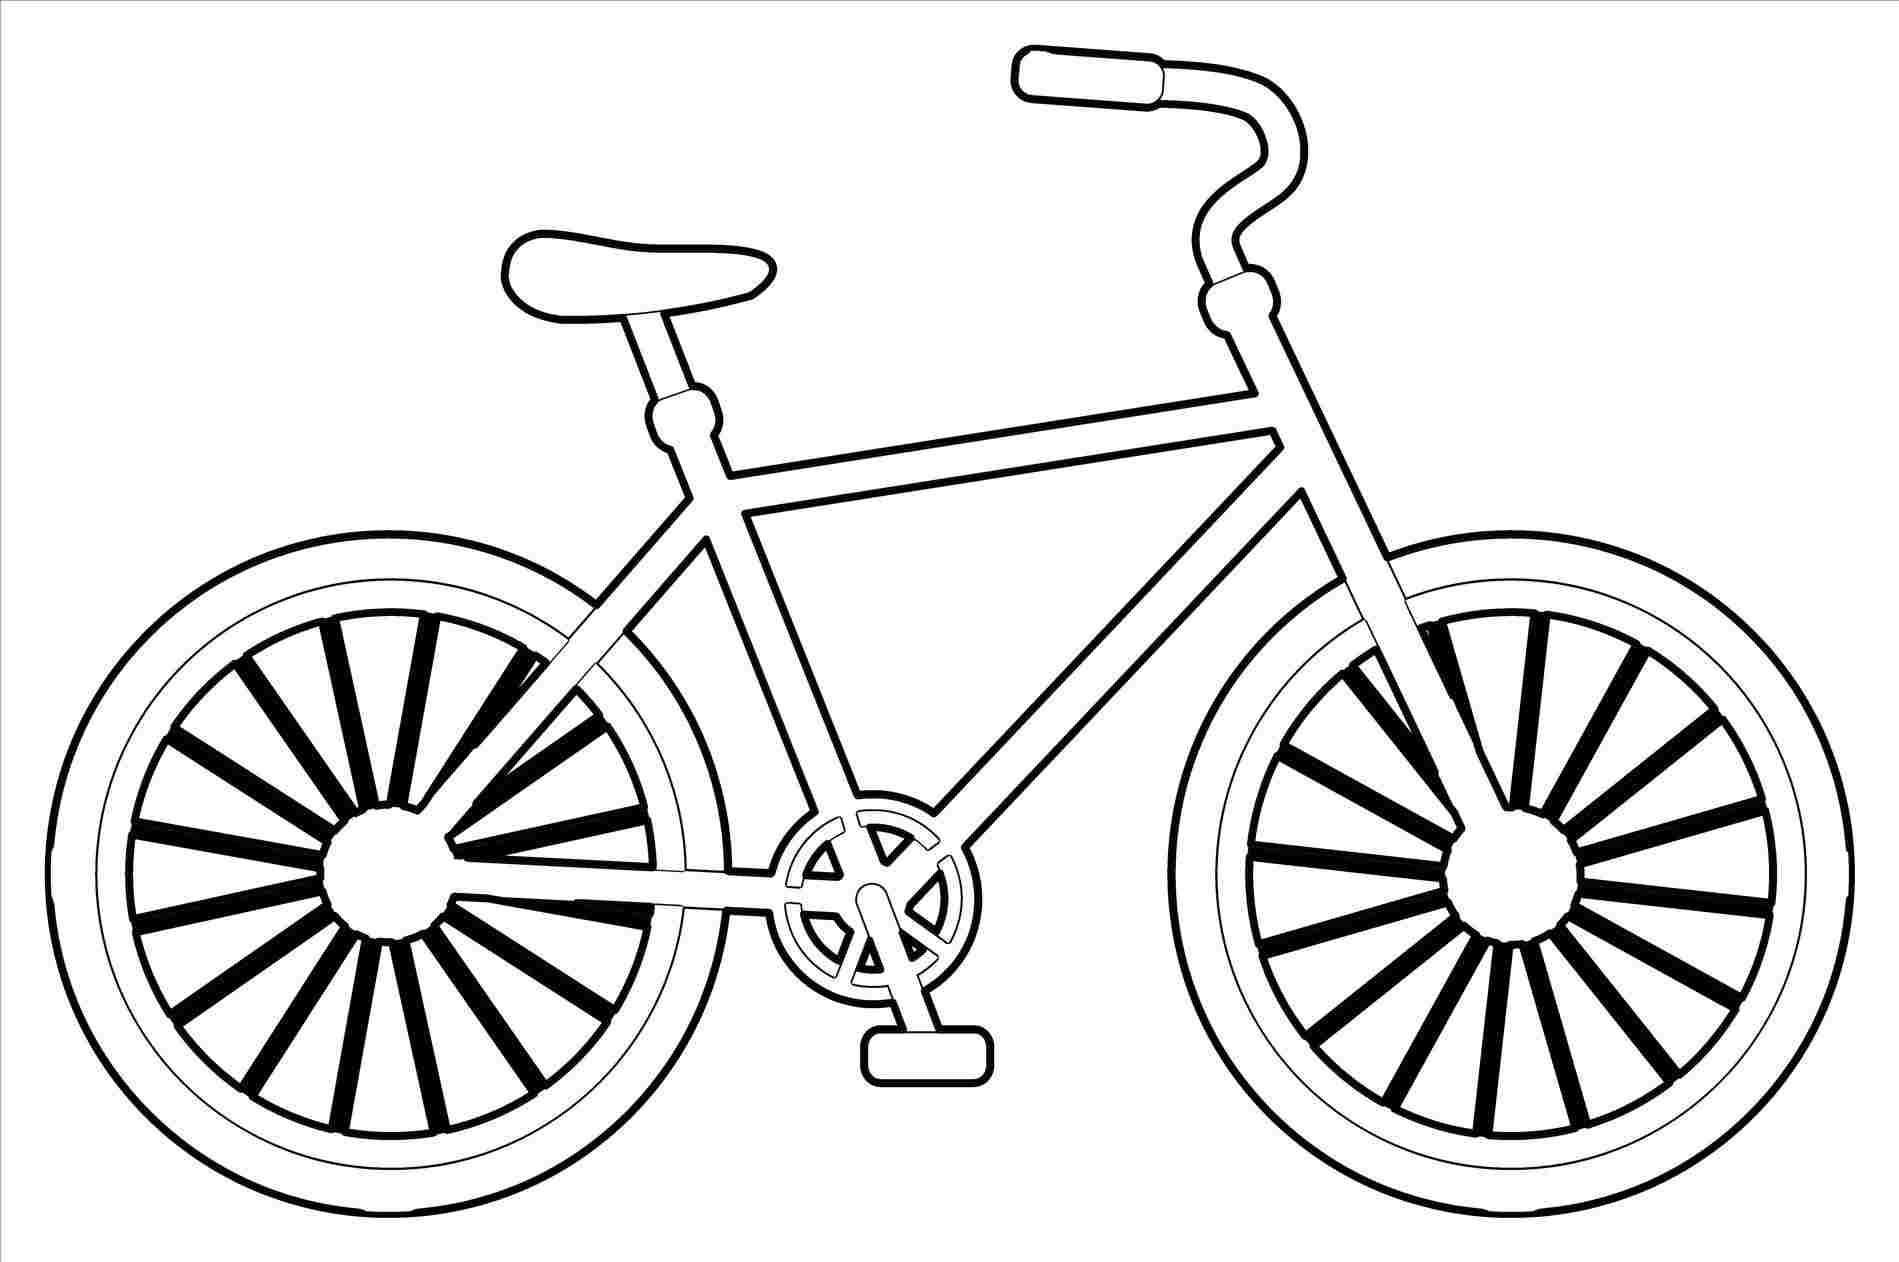
Step-by-Step Guide to Drawing a Bike
Now that you have your tools and know the basics, let’s dive into the drawing process. Here’s a step-by-step guide to help you create your first bike drawing:
- Start with a rough sketch of the frame. Use light lines to outline the main shape.
- Add the wheels next. Draw two circles and add the spokes inside them.
- Sketch the handlebars and seat. These don’t have to be perfect at this stage.
- Refine your lines. Go over your sketch with darker lines to define the bike’s structure.
- Shade and add details. Use your pencils to create shadows and highlights, giving your drawing depth.
Take your time with each step. Don’t rush the process. The more care you put into each stage, the better your final drawing will look.
Tips for Adding Realism
Realism is what makes a drawing pop. Here are some tips to help you add that extra level of detail:
- Study real bikes. Look at how light and shadow interact with the bike’s surface.
- Experiment with textures. Use different pencil strokes to mimic the feel of metal, rubber, and fabric.
- Pay attention to perspective. If your bike is tilted or in motion, make sure the angles look right.
Remember, realism comes with practice. The more you draw, the better you’ll get at capturing those tiny details that make a bike look lifelike.
Exploring Different Styles of Bike Drawing
Not all bike drawings have to be realistic. There are plenty of styles you can experiment with. Here are a few ideas to get you started:
- Cartoon Style: Simplify the bike’s features and add fun expressions to the wheels or frame.
- Abstract Art: Break the bike down into shapes and colors, creating a unique interpretation.
- Minimalist Design: Focus on clean lines and limited details for a sleek, modern look.
Don’t be afraid to mix and match styles. The beauty of art is that there are no hard rules. Let your creativity flow and see where it takes you.
How to Incorporate Motion in Your Bike Drawing
Motion is what brings a bike drawing to life. Here’s how you can capture that sense of movement:
- Use curved lines to suggest speed and direction.
- Add blur effects around the wheels to show they’re spinning.
- Position the bike at an angle, as if it’s leaning into a turn.
Motion adds dynamism to your artwork. It makes the viewer feel like they’re part of the action. So give it a try and see how it enhances your drawing.
Common Mistakes to Avoid in Bike Drawing
Even the best artists make mistakes. Here are some common pitfalls to watch out for:
- Proportion Issues: Make sure the bike’s parts are in proportion to each other.
- Over-Shading: Too much shading can make your drawing look messy. Use it sparingly.
- Ignoring Details: Don’t skip the small details like spokes or bolts. They add realism and interest.
By being aware of these mistakes, you can avoid them and improve your drawings significantly.
Practicing Consistently
Practice is key to mastering bike drawing. Set aside time each day to sketch, even if it’s just for a few minutes. The more you draw, the more confident you’ll become. And don’t forget to have fun while you’re at it!
Inspiration from Famous Artists
Looking at the work of famous artists can be incredibly inspiring. Artists like Leonardo da Vinci and Vincent van Gogh have created stunning bike drawings that continue to inspire artists today. Study their techniques and see how you can incorporate them into your own work.
And don’t forget about contemporary artists. There are plenty of modern illustrators who specialize in bike art. Follow them on social media to stay up-to-date with the latest trends and styles.
How to Turn Your Bike Drawing into a Business
If you’re passionate about bike drawing, why not turn it into a business? Here are a few ideas:
- Sell your artwork online through platforms like Etsy or Redbubble.
- Offer custom bike drawings for cycling enthusiasts.
- Create tutorials and sell them as digital products.
With a little effort, you can turn your hobby into a profitable venture. Who knows, you might just become the next big name in bike art!
Conclusion: Keep Pedaling Your Creativity
And there you have it, folks! Bike drawing is a fantastic way to express your creativity and share your love for cycling. Whether you’re a beginner or a seasoned artist, there’s always room to grow and improve. Remember to practice consistently, experiment with different styles, and most importantly, have fun!
So what are you waiting for? Grab your pencils and start sketching. And don’t forget to share your creations with the world. Who knows, your next drawing might just inspire someone else to pick up a pencil and start their own artistic journey.
Table of Contents
- Why Bike Drawing is Worth Your Time
- Basic Tools You’ll Need for Bike Drawing
- Understanding Bike Anatomy
- Step-by-Step Guide to Drawing a Bike
- Tips for Adding Realism
- Exploring Different Styles of Bike Drawing
- How to Incorporate Motion in Your Bike Drawing
- Common Mistakes to Avoid in Bike Drawing
- Inspiration from Famous Artists
- How to Turn Your Bike Drawing into a Business

